You don’t give it much thought, but the chain on your bike is a very important component. It converts the power you exert on the pedals into motion that the gears used to move your bike forward.
It is also one of the parts of a bike that is most frequently used. Some chains feature a master link that makes removal much simpler than it would be otherwise.
What is a master link? How does it affect your bike chain? These and other details will be discussed in this article.
Quick Navigation
What Is A Bike Chain?
A bike chain is a roller-type chain that connects the pedals on a bike to the wheels. It is assembled from a number of individual links, the primary components of which are side plates, pins, and rollers.
A lot of technology goes into making a bike chain, even though its function is relatively straightforward.
This technology ensures that the chain will mesh perfectly with the chainrings on the crankset and the cassette sprockets at the rear, allowing for a smooth shift whenever required.
What Is Master Link On A Bike Chain?
A master link is also known as a quick-release link. It is a type of accessory for roller-type chains that makes it possible to connect and disconnect roller chains quickly and easily.
When repairing your bike or replacing your chain, you can use the master link.
It is important to note the precise location of the master link. Your bike chain will come off much more quickly and easily because of this, and you won’t even need a chain tool.
Repairing a bike chain can be simplified if one is familiar with locating the master link on the chain.
There are two distinct varieties of the master link :
- It has a long lifespan and gives the bicycle chain a firm and secure grip.
- It is recommended for professional bikers.
On the other hand, there is the clip-style master link :
- It has a straightforward and risk-free installation process.
- It has a simpler installation process but offers a less reliable attachment.
How to Find the Master Link on a Bike Chain
In most cases, the master link includes two outer plates constructed like the chain’s outer plate.
In addition, the color of the master link differs from the color of the rest of the links in the chain.
Here are easy steps to find the master link on the bike chain :
Step 1: Use a Bike Stand
When you use a bike stand, you can see the chain on the bicycle much more clearly. In addition, your posture will not be negatively affected while you are working.
If you can not get a bike stand, you can easily just turn your bike over. Check to see that the bike is balanced on its handlebars and saddle.
This helps you avoid an accident that could harm you or damage the bicycle itself.
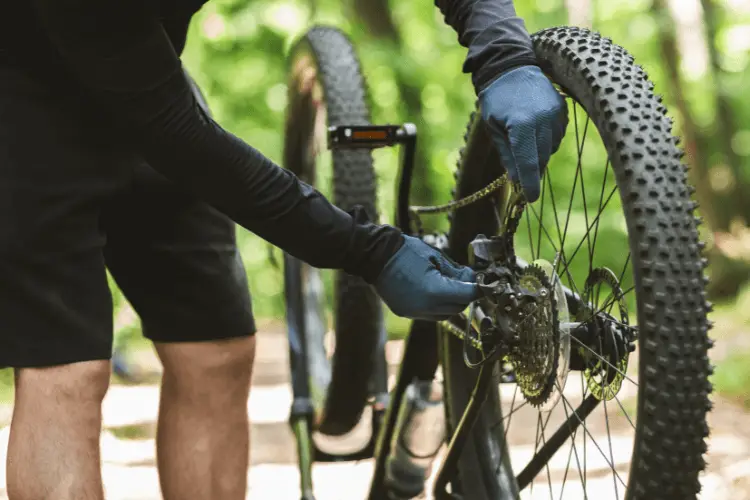
Step 2: Stand on the Drivetrain Side of the Bicycle
You will be able to stand on the drivetrain area of your bike once it has been positioned correctly. This gives you an unobstructed view of the chain if you set it up in this manner.
Using this method, you will easily access the bike chain and the master link.
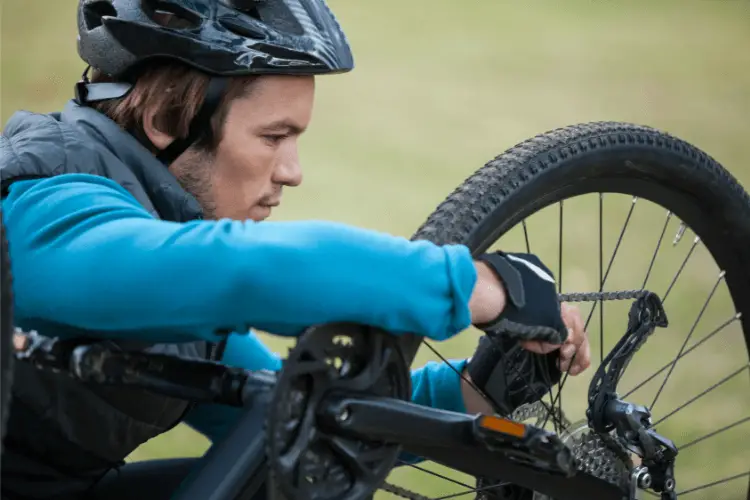
Step 3: Slow and Steady Rotation With the Pedals
When you look at a bike chain, you might not be able to spot the master link right away. It is, therefore, essential to make slow rotations of the pedals to turn the chain.
You can examine each link individually and determine the most distinctive.
In certain circumstances, the width of the master link may differ from that of the rest of the link.
It is also possible to be thicker or have color variations making it easily distinguishable from the rest of the bike chain.
How To Remove And Add Links To A Bike Chain
Removing or adding a link to a chain is a very simple process that can be done in a few steps :
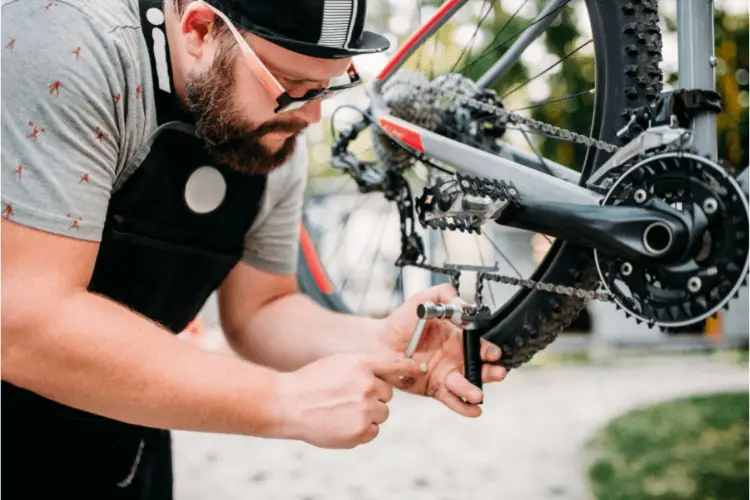
Step 1: Get Yourself a Chain Tool
This simple hand-held gadget consists of a rotating handle attached to a metallic pin.
The metal pin dislodges the rivet in the chain, which allows the chain to be taken apart.
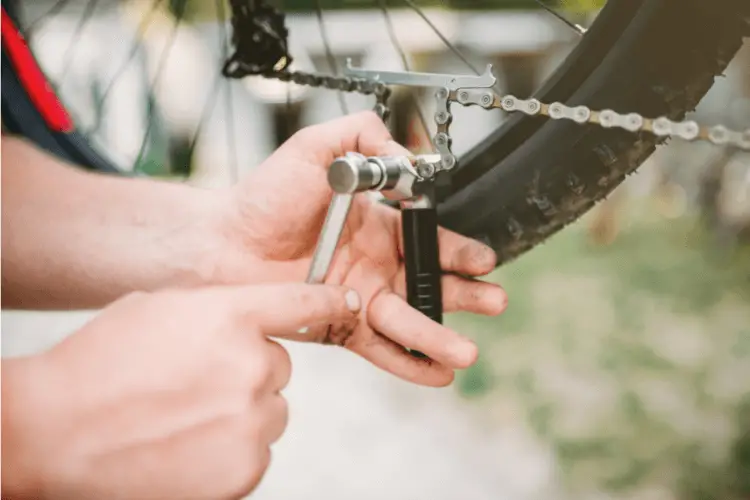
Step 2: Insert the Pin into a Chain Link
Have you noticed the tiny pin made of metal? Next to it are two prongs that can accommodate one of the chain links on your bicycle.
To secure the link, you can slide it in where it will fit perfectly. These prongs have to have an exact fit in the space provided on one of the bike link parts.
Step 3: Gently Push the Pin Into the Link
Using your chain tool, you can dislodge the pin from the rollers, allowing you to undo the entire chain.
For this to happen, the pin has to make contact with the center of the chain link. After completing this step, you must continue turning the handle in a clockwise direction.
As you rotate the handle, you should check to see that the rivet is being moved to the opposite side of the link.
It would help if you immediately stopped spinning when you observed that the rivet was almost completely removed from the link.
If the rivet comes loose, it will be extremely difficult to reinsert the pin in the bike.
Step 4: Detach the Chain From the Tool
You’ll need to use your hands to hold the bicycle chain on either link side and then pull it apart by jiggling it back and forth until one of the links comes loose.
After removing a portion of the chain links from their corresponding cogs or sprockets, you can remove the remaining chain links from your bicycle.
When ready to reassemble the chain, you will require the chain device to reattach the pin to the previously removed component.
The process described above is for standard chains without a master link.
Suppose you own a bike with a master link on the chain. The process is even easier.
All you have to do is:
- Find the master link as described earlier
- Use a master link plier to press the master link
- Release the pliers once the master link has been disconnected
- Now all you have to do is pull the chain from the sprockets
Tips for keeping your bike chain in good condition
The chain and the drivetrain are typically the dirtiest parts of a bicycle, and the presence of dirt in these areas is detrimental to the longevity and performance of the bicycle.
(i) Keep it Clean
It is essential to clean your chain consistently and lubricate it well to maintain its smooth operation. Use a chain cleaning fluid designed for that purpose in conjunction with a brush or sponge for application.
In addition to paying attention to the chain itself, you will also need to focus on your bicycle’s chainrings, pulleys, and cassettes.
(ii) Dry the Chain
As soon as the chain system is dry, apply some quality bike lube to it to prevent rusting, and then cycle through all of the gears once.
Every time you ride in wet conditions, you must ensure that the chain is dried off and lubricated.
(iii) Check for Signs of Wear and Tear
This can be done easily with a chain measurement gauge. You can pick one up at a local bike shop, but a ruler will do the trick. A new chain ought to have a length of 12 inches across all 12 links.
Conclusion
If you’re new to maintaining bicycles, one of the first things you’ll need to learn is locating a master link on your chain.
If you have a master link, you can remove your chain without needing to use a chain tool, which is convenient in situations where you don’t have access to one.
We hope this guide has given you all the necessary information when finding and removing master links from your bike chain.
1 thought on “How To Find The Master Link On A Bike Chain (Ultimate Guide)”