You’re Riding a bike, and you suddenly feel that the pedals aren’t working?
That’s a bummer!
Especially if you’re in a hurry to get somewhere and can’t afford a delay. Chances are that your bike chain has tangled.
In this article, we will tell you how to untangle your bike chain.
To untangle your bike chain, you need to create enough slack to loosen your chains and untangle them manually. If the chain is tangled up badly, you’ll need to remove the rear wheel and take the chain off the sprockets. If nothing’s working out, it’s best to take your bike to a professional.
While a tangled chain might seem like a huge problem, many different methods exist to untangle it.
So, make sure to read all the possible techniques down below.
Methods to Untangle a Bike Chain
There are a few steps to untangle your bike chain, depending on how badly the chain has tangled.
1. Move the Chain to Nearest Sprocket
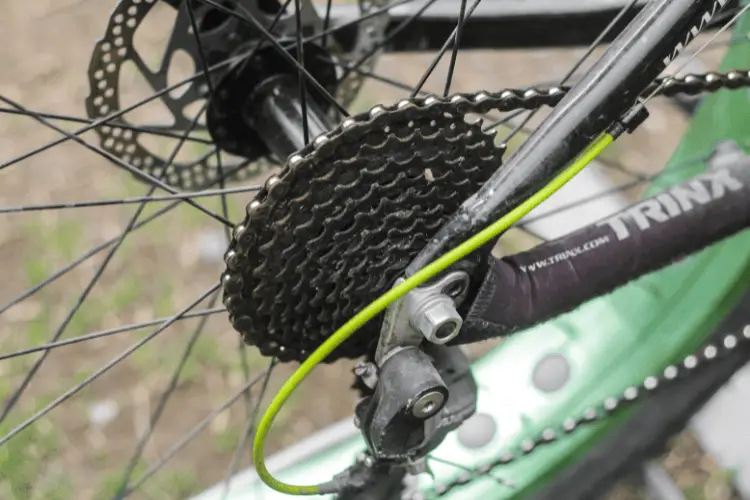
The first method to untangle a bike chain is to move the chain onto the smallest sprockets simply.
Sprockets are the small metal gears attached to the bike’s rear end, which keep the chain moving.
You’ll see four or more sprockets. Each sprocket is smaller than the previous one. Moving the chain to the smallest sprocket will help you untangle the chain.
2. Removing the Wheel
You can also remove the bike wheel and the chain from the rear wheel sprockets. Experts recommend turning the bike upside down so you can work on the wheel easier. This will also reduce the chances of the bike falling or rolling away.
3. Shaking and Reinstalling the Chain
Once the chain is removed, hold it in your hand and give it a good shake. This will help to loosen the tangles.
Next, take a look at the chain and identify the site of the problem. Once you’ve found the tangle, begin gently working it out with your fingers.
Once the knot is gone, the chain should be free to move again.
Finally, reinstall the chain on the bike. Reinstalling is as simple as putting it back onto the sprockets you removed the chain from.
4. Replacing the Wheel
Once you’re done untangling the chain, you still need to reattach the wheel. Otherwise, you’re going nowhere.
Ensure everything is attached correctly, or you can face severe consequences like a brake failure.
We have another article on Why Bike Chain Won’t Go Backward and How To Fix that so you can read the article also.
9 Steps to Untangle a Bike Chain
Untangling the bike chain manually is a tedious yet doable process.
Let’s start with outlining the whole process in nine easy steps:
1. Create Enough Slack in the Chain
Move the chain to the smallest sprockets on the rear and chain portion to create enough slack in the chain.
Once you’ve done that, proceed to do the same with the portion of the chain that’s attached to the sprockets on the pedal. By now, your chain should be hanging looser than before.
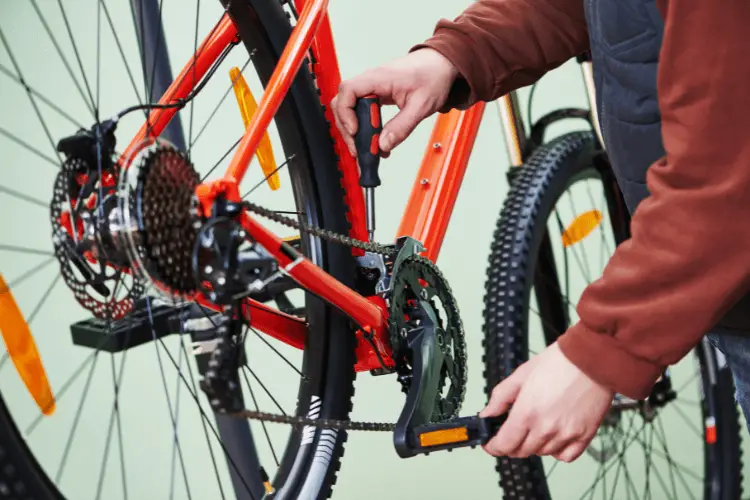
2. Compress the derailleur
For this step, you will need an extra pair of hands. Go ahead and call your closest friend to help you out.
Once you’re all set, compress the derailleur (a hook-shaped metal contraption attached to the bike’s back end) and have your friend hold it there. This will further increase the slack in your chain.
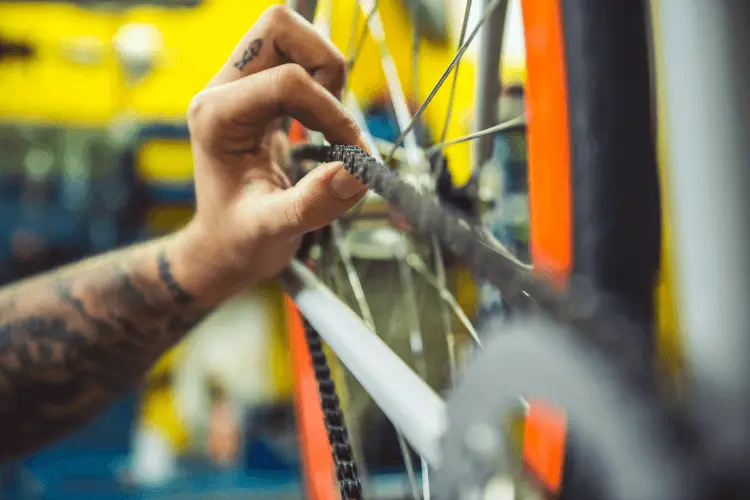
3. Untwist the Chain
This step is where you really get your hands dirty! You need to manually untangle the chain and remove any twists in the links of the chain. The slacker the chain, the easier it is to separate.
4. Remove the Rear Wheel
Now you need to flip your bike over and make sure that it’s on a flat surface and stable enough that it doesn’t fall.
Proceed to unscrew the skewer from the rear wheel. This is usually done using the attached knob and lever on the skewer or a wrench.
5. Unhook the Brake
You will notice that a tube from the brake handle runs down to the brake contraption on the wheel. Now loosen the tube by unhooking the brake cable. You may also need to unscrew it, depending on the bike.
6. Slide the Chains Off
Now it’s time to physically remove the chain off the bike sprockets from both the rear end and the front portion of the bike.
You might need to pull it harder if it is stuck between the sprocket and the derailleur.
7. Shake the Chain
Once it’s off the sprockets, shake it by holding the longest untangled part to remove the tangles. If some portion of the chain still needs untangling, do it manually.
8. Reinstall Wheels and Seat Chain
Once the chain is tangle free, replace the rear wheel into its socket and slide the chain back onto the smallest sprocket. Make sure that the chain is seated correctly. Otherwise, it will tangle again.
You will also need to replace the chain with the smallest front sprocket. Once that is done, reinstall the skewer by aligning it with the center cylinder and fastening it. Try to remove the tire to see if it’s properly secured.
9. Reinstall the Brake
Now you need to pull the brake levers together and hook the brake tube in between them. Depending on the bike, you might either do this by hand or by screwing the caliper together.
These steps should successfully untangle your bike chain and make it functional again.
Sometimes your bike cassettes may wobble, read this article on why is your cassette wobbling so that you can learn and aware about cassette wobbling.
Tips to Prevent Chain from Tangling Up
There are a few things you can do to help prevent your chain from tangling up:
(i) Check You Chain Frequently
One of the best things you can do is to check your chain regularly. This will help you spot any potential issues before they become a problem.
A tangled chain is more likely to happen if you let it go too long without inspection.
(ii) Use a Chain Guard
You’re probably tired of your bike chain getting tangled up if you’re like me. Thankfully, there’s an easy way to prevent this from happening by using a chain guard.
A chain guard is a simple piece of equipment that helps keep your chain in place and prevents it from getting caught on anything. It’s a small investment that can save you time and frustration in the long run.
(iii) Lubricate Your Chain
Lube your bike chains with waterproof lubricant at least every 490 kilometers (approximately 300 miles). This will greatly reduce the likelihood of your chains becoming tangled.
The lubricant also prevents continuous friction and improves the performance of your bike. With lubricant, you’ll notice that pedaling is considerably quicker, preventing frequent exhaustion.
(iv) Purchase Quick Release Chain Link
You can easily take off your chain with a quick-release chain link when you’re not using your bike.
This prevents the chain from getting tangled up and makes it much easier to put on when you’re ready to ride again. Trust us, and this is a game-changer for anyone who loves biking.
Final Verdict
To recap, there are four basic methods to untangling your bike chain.
- Untangle the chain
- Remove the wheel
- Shake the chain and replace it
- Reinstall the wheel
If you fail to fix your bike chain, let the professionals handle it. There’s no need to get frustrated and dirty when someone can fix it for you.
Hopefully, this article has helped you untangle your bike chain, and you’ll be well on your way.
1 thought on “How To Untangle A Bike Chain (Ultimate Guide)”