Are you looking to remove the bike crank? First, it is essential to get a bit familiar with the basic repair and maintenance of a bike.
In this post, we will learn how to remove bike crank without puller and understand some basic details, so without wasting any time, let’s get started:
What Is A Crank Puller?
A crank puller is a specialized tool used for removing a crank from a bike. It mainly includes series of bolts and nuts. These functions help to pull out the crank from an engaged axle.
Even for general repairs, you might need the crank puller tool. It helps to assemble and dismantle the crank of your bicycle. Besides, it can also be used for general repairs & maintenance.
In most the cases, crank puller tool is made from aluminum that is more stable and lighter. You need to be quite knowledgeable to handle the tool. The reason is it can be pretty dangerous and permanently damage your bike too.
How to Remove Crankset Without Puller – Step By Step
Though it is entirely possible to remove the crank from a bike without a puller, especially in an emergency, nobody can help.
You need to know and follow some operational procedures, given below the step-by-step method to follow:
Step One
First, you have to look at your hand’s safety when removing the bike crank without a puller to avoid hand injuries.
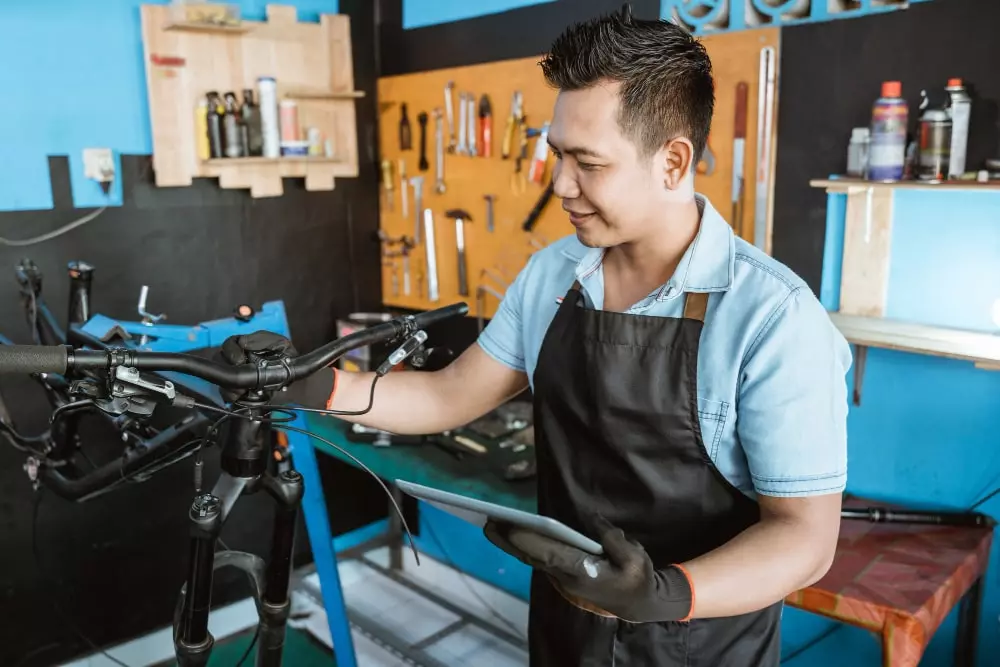
Consider buying a pair of gloves for complete protection and wear them before you start your process of removing the crankset. Make sure to shift your bicycle gear toward a large cogwheel that gives protection to your hands.
Keep the adjacent area totally free from other stuff, like oil and liquid. These things may fall on you when you are removing a crank.
Step Two
In your second step, loosen the crankset and remove nuts and bolts. This will help you remove the crank without any trouble. To achieve this task, consider turning the nut and bolt in the counterclockwise direction. Do everything slowly as your chain might jump off and can hurt you.
Below the bolt, remove the dust caps. Also, snoop any filaments and get rid of them by slowly threading the bold. Check out the crank type before you think of removing it.
Step Three
Now in this step, you have to consider removing washers of a crank on the crankset. They are the metal discs that have middle holes and are located below the thread’s bolts.
These washers will help to back the wheels’ movements in a particular direction with the help of the pointed lever curves. You can use the spanner tool or bolt to remove it.
Step Four
After that, you will need to inspect the crank bolts properly. Make sure you use the right tool when removing the crank without a puller.
There are two options you can use CCP-22 and CWP-7, which have a small and thin tip if removing the crankset M8 bolt. And for M12 & M14 bolts, consider using CCP-44 and CWP-7.
Step Five
Turn the puller coupler gently, and you will feel the fitting hex and the bold recessed out of its tool. Make sure it doesn’t cross the filament or avoid damaging its surface.
You can engage 22 mm and thread in the arms directly. Would you please make use of the spanner or screwdriver tool that will manage it efficiently?
Step Six
Now directly thread a spindle driver in the crank arms after turning its coupler of thread. Handle this task very carefully as you need to use your arm power. Even a minute of carelessness will hurt you.
Directly insert the spindle drive into its designated slot. Now turn the driver gently in the counterclockwise direction to make the cranks taut.
Check the crank tautness many times just to ensure that it isn’t loose. Keep in mind and the loose driver will damage the crank arms and make the rest of the components lose.
Step Seven
In your next step, you have to turn this shaft clockwise when you have tightened it properly.
It would help if you made sure that the arms of a crank are completely disengaged. Make sure you complete this step carefully without any rush.
Also, it would help if you did things gradually to avoid any damages to the threads, square taper crankset, and bold, or you might have an injury.
Step Eight
Now is the right time that you unthread the puller tool from its cranks. Unthread it slowly away from its crank. Your knuckles might hit the crank sides. Repeat the process on other cranks. Make sure you test your bike correctly if each component is working rightly, particularly the crank arms.
How To Install A Bike Crank?
1st Step
Pop the crank on the spindle in a straight position. Suppose you have washers, then before installing these cranks, consider placing them over the crank spindle.
After that, try to push the right-hand side of a crankset onto its right spindle & wrap its chain around the chainring to be between a bike and a crankset.
2nd Step
In the same way, slide the left side of a crank on the spindle. Jiggle your left crank arm & push it down the spindle.
Suppose both the sides of a crank are not going down the spindle, then just tap with the rubber mallet and push it in the proper place.
3rd Step
With the help of the Allen key, install the crank bolt in the socket. Place these crank bolts in their sockets. Use the Allen key you have used for uninstalling old cranks and screw it in a new crank bolt. Turn each bolt clockwise till you cannot do anymore.
4th Step
Replace its compression cap and properly tighten its pinch bolts. Suppose the crank bolt has a plastic compression cap, then place a lid on the center of a bolt and push a little down to get it in the proper place.
Tighten its cap to a recommended torque that is 5 Newton meters. Suppose your crank has the pinch bolts, then turn it clockwise with a 5mm Allen key and tighten or secure the crank.
5th Step
In the last step, screw the pedals in the crank arms, place the pedal in the correct socket, and turn it counterclockwise. It is a straightforward way to screw a pedal on the bike. Start with the other end of your bike and repeat this same process.
Frequently Asked Questions (FAQ)
Q1. Does Bike Crank Length Matter?
Yes, it does matter. It is said that longer cranks are better, increasing pedaling leverage and allowing you to generate more power.
Q2. How do I take the crank off my bike puller?
The steps are already given above, and the exact steps apply when taking a crank off a bike. You can consider using Crank Puller Tool to make this process a bit easier.
Q3. What Does A Crank Puller Do?
A crank puller is a tool that helps to remove a crank from a bike. Crank pullers can also remove different types of the crank, namely square spindle arms & splined spindle arms.
What Are The Best Ways To Protect Your Hands When Removing A Bike Crank?
Well, a crank puller can be used for detaching cranks from your bike’s frame and is helpful for various other repairs and maintenance tasks.
Wear Proper Gear
Safety must be your top priority when it comes to removing a bike crank. For this reason, I suggest wearing suitable gloves for doing any dangerous mechanical work. Suppose you have got rubber mittens, then better. It gives better protection than other gloves out there.
Take an Expert Help
If you are removing a crank from your bike for the first time, it is always better to take the help of a professional bike mechanic. It is the best and safest mode of doing things.
Conclusion
As you can see, it is pretty simple to remove the bike crank without using a puller just by following the given steps. These steps are pretty simple to be followed by anybody with the help of a few essential tools.
Suppose you have trouble removing a crank. You may take the assistance of a professional.