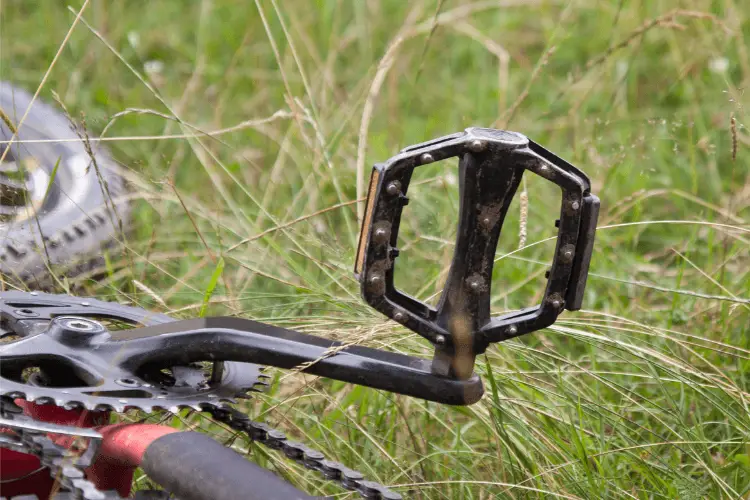
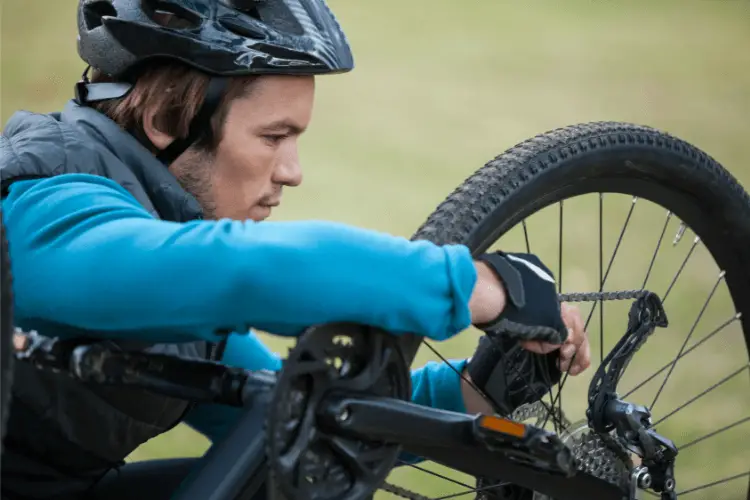
Bike pedals that have refused to screw in can be fixed by doing it yourself, getting in touch with a bike mechanic, or going to the local store to replace the parts.
This experience can be frustrating for anyone; worst still, you can damage the pedal if you try to force it.
So, in this blog post, we will look at what could make bike pedals not screw in, the required tools, and the tips to fix them.
Quick Navigation
Why A Bike Pedal Won’t Screw In

Having a bike pedal that refuses to screw in is not a pleasant experience. But there is a reason for it to occur.
Let’s look at a number of them:
1. Metal Thread Is Damaged
A damaged metal thread is one of the reasons your bike pedal won’t screw. Sometimes, this results from putting the pedals on the wrong side.
2. Dirt and Debris
The presence of dirt and debris can block the pedal screw from screwing tight.
Also Read : Why Does My Bike Chain Slip When I Pedal Hard?
List of Tools To Fix Bike Pedals Won’t Screw In

Having the right tools is the first step toward your successful pedal swap.
These four will help you to fix your bike pedal quickly :
(i) Pedal Wrench
To screw in a bike pedal, you will need a pedal wrench. You may have other wrenches that work, but nothing beats having a good pedal wrench.
It’s not expensive, will save you a lot of frustration, and may even prevent some bloody knuckles. And it’s easier to handle; you will be glad you got one.
(ii) Hex Key
You will need a hex key to fix a bike pedal. The hex key help to fit the spindle inside the crank leg.
(iii) Adjustable Torque Wrench
The adjustable torque wrench lets you tighten a nut or a bolt so they don’t easily come off.
(iv) Bike Grease
Bike grease is used for lubrication. The grease is applied thoroughly to the pedal thread before fixing it.
Related Article : Why Bike Chain Won’t Go Backward? (How To Fix)
9 Ways To Fix Bike Pedal Won’t Screw In

Say goodbye to frustrations resulting from a bike pedal that won’t screw.
These tips will help you fix it :
1. Place Your Bike on A Flat Surface
To prevent your bike from tumbling and damaging the screws and the new pedal while trying to fix it, you need to keep it on level ground.
2. Identify the Right Tools
To remove old pedals, you’ll need the proper wrench. If the pedal is connected to the crank arm by a flat type of nut, you typically need a 15-millimeter spanner.
However, if the socket is hexagonal, you will need an Allen key wrench.
3. Use the Wrench to Remove the Pedal
Attach the wrench to the Allen key socket or spanner flats, starting with the right-hand pedal, and rotate counterclockwise to release the right pedal.
To loosen the left-hand pedal, you must turn in the opposite direction.
4. Apply Grease to Bike Threads
You must lightly spray the metal threads inside the pedal holes on the crank arm of your bicycle before installing a new pedal.
You can buy different types of waterproof lubricants at the mechanic or bike shop. This will simplify your job of screwing on and removing the new pedals.
5. Be Sure the Pedal Socket Is Clean
When dirt and other particles find their way to the pedal socket, they make it difficult to screw.
They may push the threads on the screws holding the pedals to your bike out of their normal position. So, it is better to clean the area thoroughly before trying to install your bike pedals.
6. Place Right Pedal into Pedal Hole
You are required to start from the right side of your bike during installation. Search the pedal for a little letter “R.”
Then gently place the pedal’s end on the hole without pressing it. Using your hands to guide the threads onto the pedal hole would be best.
7. Use the Wrench To Screw New Pedal
When tightening the right pedal onto the bike’s crank arm, turn the wrench in a clockwise direction.
To avoid stripping your metal threads of its new pedal, try not to force it. Instead, you can go back to repeat the previous step.
8. Repeat Previous Step with Left Pedal
To fix the left pedal without difficulty, you need to turn it anti-clockwise to screw it. Bike riders who don’t know this fix often complain that their pedals are difficult to attach.
9. Check the Security of The Pedals
Check to see if your pedals are securely fastened by ensuring they are not misaligned or loose on their bearings.
A new pedal might not spin quickly, but it should be able to spin smoothly without problems or being stuck.
How To Screw in A Bike Pedal?

Installing a bike pedal may seem easy until you try fixing one yourself. Making any mistake at this point will have consequences and can result in either a stuck pedal or a damaged crank arm. And we bet you don’t want that.
Here are some helpful tips to ensure you don’t waste your bike pedals.
i. Apply Grease to The Spindle Threads
Before you can screw in a bike pedal, you need to apply grease to the spindle thread. Insert the pedals in the crank arm at a 90-degree angle. They should be able to fit.
ii. Use Your Hands
Use your hands to put in the pedal but don’t force it. Then use your hands to tighten it as much as you can.
iii. Tighten with A Pedal Wrench
Use your pedal wrench to tighten the spindle flats or a hex wrench to access the ports inside each crank arm.
iv. Follow the Procedure
To tighten the pedals, you need to turn the right pedal clockwise while the left pedal is turned anti-clockwise.
v. Consult Your Manual
If you encounter any resistance, consult the manufacturer’s manual on fixing bike pedals.
vi. Screw-in
Screw in the pedal until it’s properly fitted and secured.
Recheck the pedals once again to make sure it’s perfectly secured. But if you still have doubts about if you did an excellent job of screwing the pedal securely, you can meet a mechanic to take a second look.
Afterward, you are free to hit the road and enjoy your ride.
Bottom Line
If you have read this blog post to this point, we are sure you should be able to fix a bike pedal that won’t screw in.
The steps mentioned will help you firmly attach your bike pedals without worrying about bearing issues.
We wish you a fun-filled bike ride.
